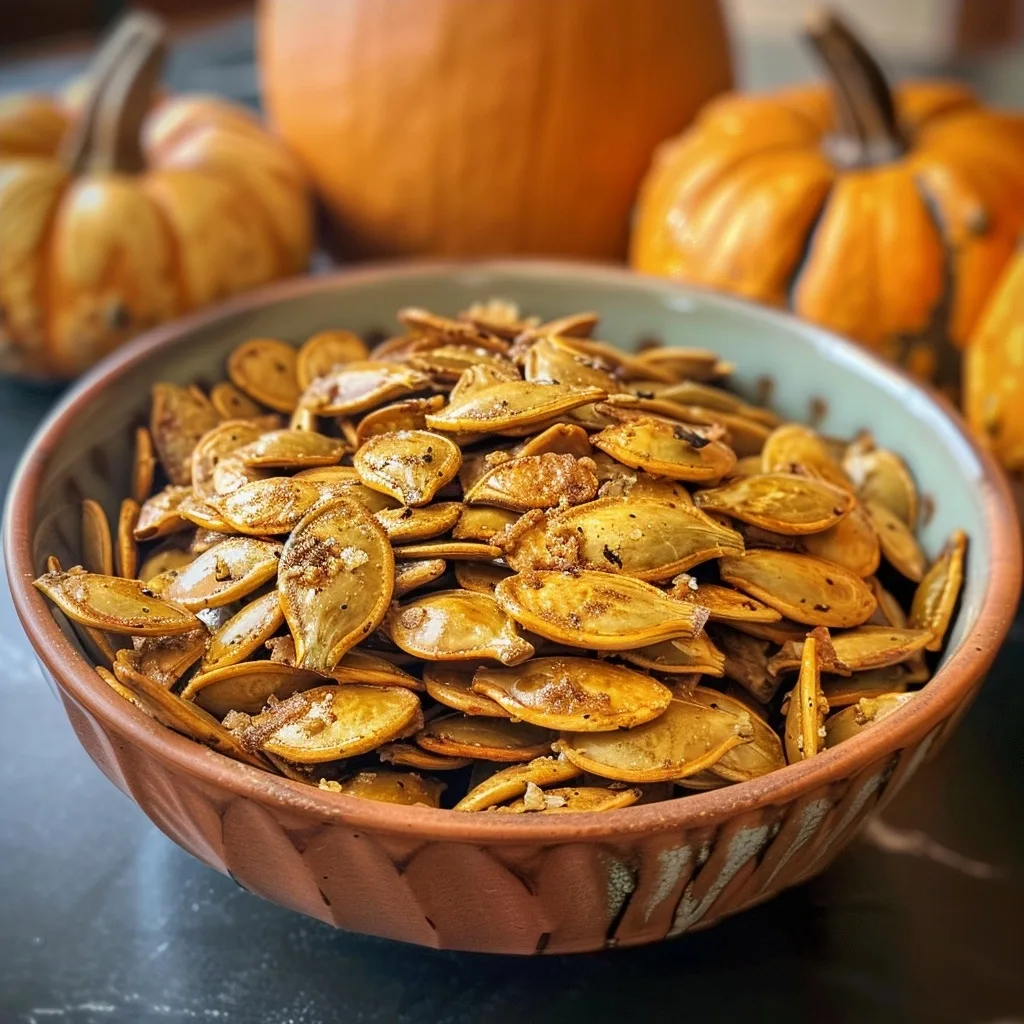
Crispy roasted pumpkin seeds serve as a nutritious, crunchy snack that utilizes the often-discarded interiors of fall squash. This preparation method transforms raw seeds into a flavorful treat using simple pantry staples like olive oil, sea salt, and basic spices. Roasting them at home provides superior texture compared to store-bought varieties while allowing for complete control over salt and seasonings.
Recipe Overview
| Attribute | Details |
|---|---|
| Prep Time | 15 minutes |
| Cook Time | 20 minutes |
| Total Time | 35 minutes |
| Servings | 4 servings |
| Difficulty | Easy |
| Cuisine | American |
Why This Recipe Works
This recipe works because it focuses on proper moisture removal before the roasting phase begins. Many home cooks struggle with soggy seeds, but by thoroughly patting them dry and tossing them in high-quality oil, the seeds achieve an ideal golden crispness every single time.
I personally appreciate how versatile this snack remains throughout the autumn season. Whether you prefer a savory profile with garlic powder or a sweet iteration with cinnamon and maple syrup, the foundation remains reliable and straightforward to execute in any home kitchen.
Ingredients
| Ingredient | Quantity | Notes |
|---|---|---|
| Pumpkin Seeds | 2 cups | Freshly cleaned from a medium pumpkin |
| Olive Oil | 1.5 tablespoons | Extra virgin offers the best flavor |
| Sea Salt | 0.5 teaspoon | Fine grain works best for coating |
| Garlic Powder | 0.25 teaspoon | Optional for savory depth |
| Smoked Paprika | 0.25 teaspoon | Adds a subtle woody finish |
Step-by-Step Instructions
Preparation
- Scoop seeds from the pumpkin cavity using a sturdy metal spoon.
- Separate seeds from the stringy pulp by placing them in a bowl of warm water.
- Drain the seeds using a fine-mesh colander and pick off remaining fibrous strands.
- Spread the seeds onto a clean lint-free kitchen towel to air dry for one hour.
Roasting
- Preheat your oven to 300 degrees Fahrenheit to ensure gentle, even cooking.
- Toss the completely dry seeds with olive oil and seasonings in a large mixing bowl.
- Spread the seasoned seeds in a single layer on a parchment-lined baking sheet.
- Roast for 20 minutes, tossing halfway through, until the seeds appear golden brown.
Chef Tips for Perfect Results
- Ensure the seeds are bone-dry before oiling to guarantee they crisp rather than steam.
- Use parchment paper to prevent sticking and simplify the cleanup process significantly.
- Avoid overcrowding the pan, as overlapping seeds will result in uneven texture.
- Watch the oven closely during the final five minutes to prevent the small seeds from burning.
Common Mistakes to Avoid
The most common mistake is failing to remove all pulp, which leads to mushy patches. Always take your time during the rinsing phase to ensure the seeds are clean. Another error involves over-salting before roasting, as high heat can alter the salt intensity. Add extra seasonings after the roasting process if you desire a stronger flavor profile.
Variations and Substitutions
| Ingredient | Substitution | Impact |
|---|---|---|
| Olive Oil | Coconut Oil | Adds a hint of sweetness |
| Smoked Paprika | Cayenne Pepper | Increases heat levels |
| Sea Salt | Maple Syrup | Creates a dessert-style snack |
Serving Suggestions
Enjoy these seeds as a standalone topping for harvest-themed salads or creamy autumnal soups. They also make excellent additions to homemade trail mix combined with dried cranberries and almonds. These are perfect for holiday gatherings or post-workout protein boosts.
Storage and Reheating
| Method | Duration | Instructions |
|---|---|---|
| Air-tight Container | 1 week | Store in a cool, dark pantry space |
| Freezer | 3 months | Freeze in a sealed bag and toast lightly before serving |
Nutritional Information
Approximate values per serving.
| Nutrient | Amount |
|---|---|
| Calories | 160 kcal |
| Protein | 9g |
| Fat | 14g |
| Fiber | 2g |
Frequently Asked Questions
Can I use seeds from any squash variety?
You can use seeds from any winter squash, including butternut or acorn varieties, with consistent results. These seeds are functionally identical and roast under the same temperature and time constraints.
How do I know when the seeds are perfectly crispy?
The seeds are done when they emit a faint popping sound and turn a light golden color throughout. You can test one after it cools slightly to ensure it has reached your desired level of crunch.
Why do my seeds burn so quickly?
Seeds burn quickly because they contain high levels of healthy oils and a small surface area. Keep the oven temperature low at 300 degrees Fahrenheit and stay near the kitchen during the final stage of roasting.
Is it possible to make these seeds ahead of time?
You can prepare these seeds up to three days before an event if stored in an airtight glass jar. If they lose some crispness, pop them in a warm oven for three minutes to refresh the texture.
What is the best way to serve these for a party?
Serve them in small ramekins or decorative bowls placed around your appetizer spread. Guests find them easier to handle when provided with small scoops for individual servings.
Mastering crispy roasted pumpkin seeds is an essential skill for any home cook looking to minimize food waste. By following the steps for thorough cleaning and low-temperature roasting, you create a shelf-stable snack that beats store-bought alternatives in both nutrition and taste. Keep a batch in your pantry for a reliable, savory energy boost that highlights the best of the season. Embrace this simple process to turn your kitchen scraps into a delicious, healthy, and perfectly crunchy staple that your friends and family will surely enjoy.