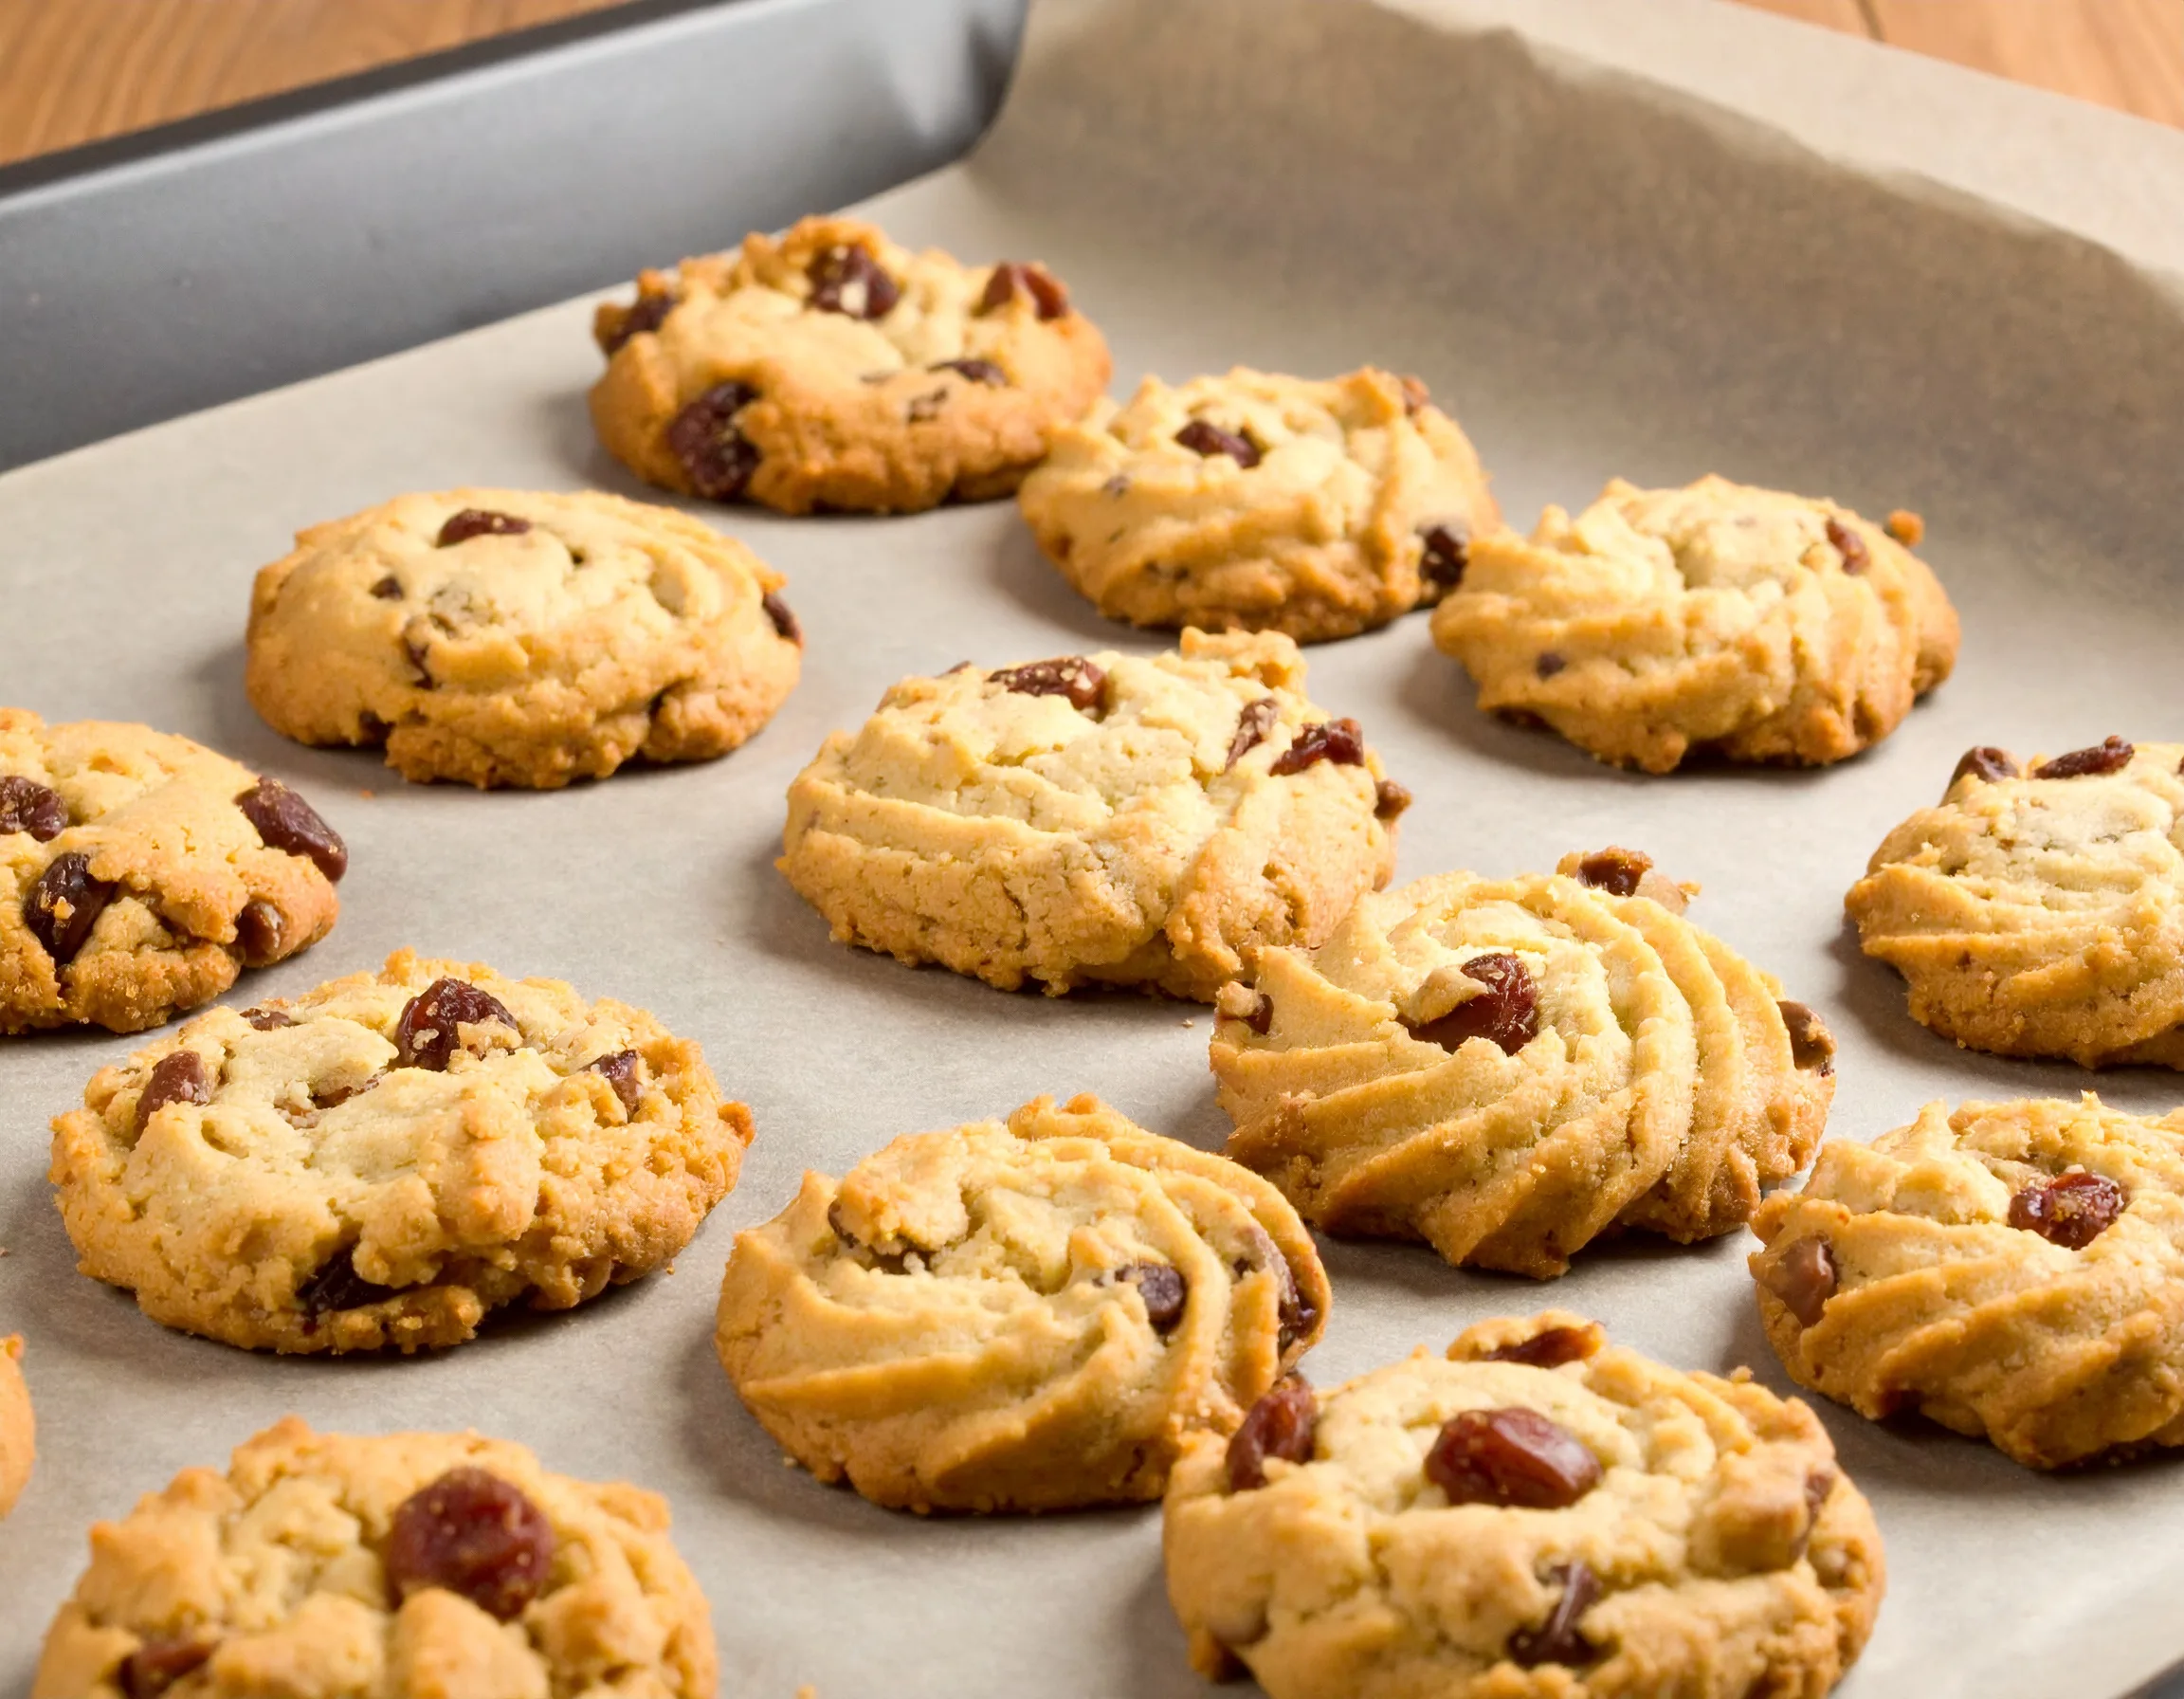
Baking cookies is a fun and rewarding activity, especially when you have the right recipe and know-how. Whether you’re new to baking or looking to perfect your technique, the best cookie tray recipe guide for beginners is here to help. From selecting the right ingredients to mastering baking times, this guide will cover everything you need to know to create perfect cookies every time. A cookie tray is more than just a collection of baked goods it’s an experience, and we’ll make sure you get the most out of it.
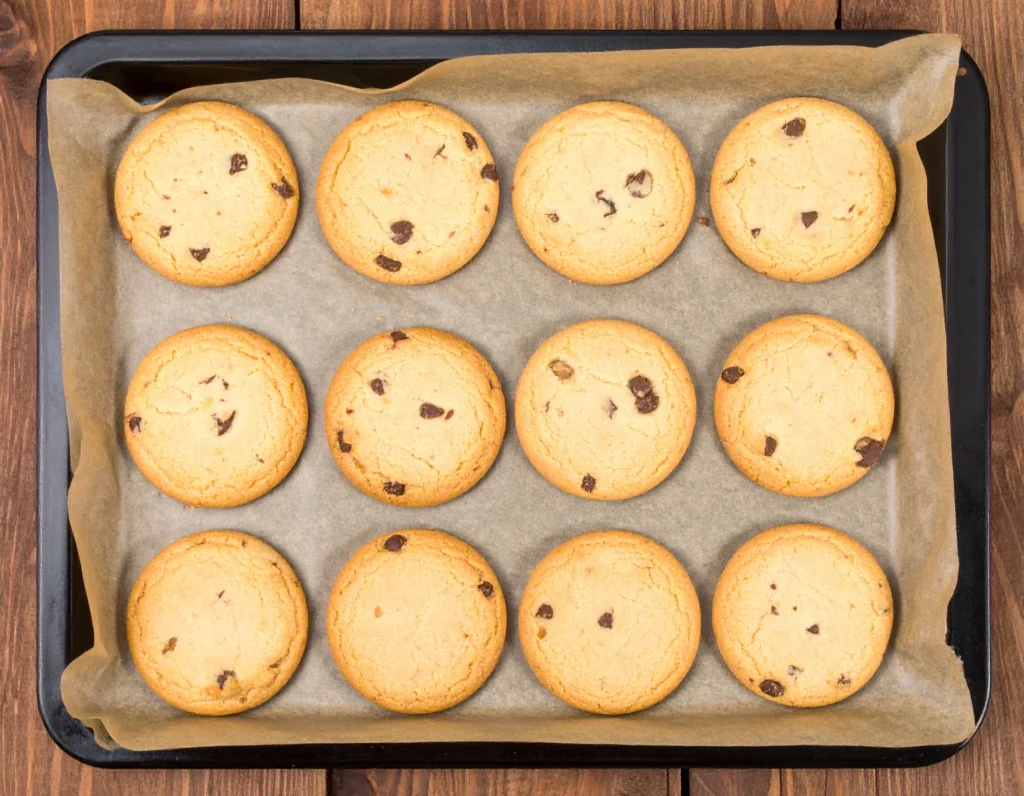
Table of Contents
Table of Contents
What is a Cookie Tray?
A cookie tray is an essential tool for anyone who loves baking cookies. It’s a flat, rectangular surface designed to hold cookie dough as it bakes in the oven. Often referred to as a cookie sheet or baking tray, a cookie tray comes in various sizes and materials, including aluminum, stainless steel, and non-stick versions. These trays are typically wider than a regular baking pan, providing enough space to spread out multiple cookie dough balls without them merging together during baking.
Print
The Best Cookie Tray Recipe Guide for Beginners
- Total Time: 20 mins
- Yield: 1 large cookie tray (about 60 cookies) 1x
- Diet: Vegetarian
Description
An easy, tasty cookie tray recipe perfect for beginners ideal for holidays, parties, or gifting.
Ingredients
1 dozen chocolate chip cookies
1 dozen sugar cookies (frosted)
1 dozen peanut butter cookies
1 dozen oatmeal raisin cookies
1 dozen shortbread cookies
Mini brownies or fudge squares (optional)
Assorted candies, nuts, or dried fruit for garnish
Instructions
1. Bake or buy each cookie type and allow to cool completely before arranging.
2. Choose a large tray or board as your base, lining it with parchment or decorative paper.
3. Arrange cookies by type, grouping similar ones together.
4. Layer some cookies for height and visual appeal.
5. Add accents like chocolate pieces, dried fruit, or nuts to fill empty spaces.
6. Cover until serving to keep cookies fresh.
Notes
Include a mix of chewy, crunchy, and soft cookies.
Vary colors with frosting, sprinkles, or chocolate drizzle.
Balance flavors — sweet, nutty, fruity, and chocolatey.
For gifting, wrap in clear cellophane and tie with a ribbon.
- Prep Time: 20 mins
- Cook Time: 0 mins
- Category: Dessert
- Method: No Bake / Assembly
- Cuisine: American
Nutrition
- Serving Size: 1 cookie
- Calories: 120
- Sugar: 8g
- Sodium: 85mg
- Fat: 6g
- Saturated Fat: 3g
- Unsaturated Fat: 2g
- Trans Fat: 0g
- Carbohydrates: 15g
- Fiber: 1g
- Protein: 2g
- Cholesterol: 10mg
One of the primary functions of a cookie tray is to evenly distribute heat around the dough, ensuring that your cookies bake uniformly. The flat surface allows heat to circulate underneath and around the cookies, leading to an even texture and golden-brown edges.
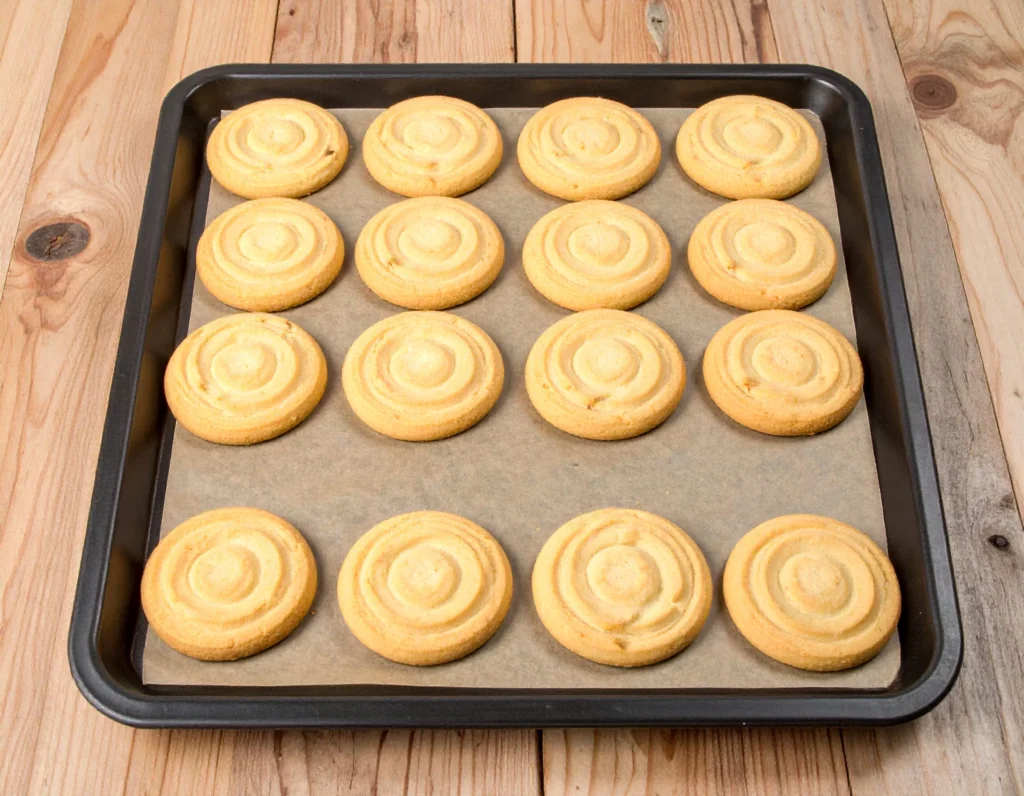
Cookie trays are often lined with parchment paper or silicone baking mats to prevent the dough from sticking to the surface. This also makes cleanup much easier, as you can simply remove the paper or mat and dispose of any leftover crumbs or dough. Alternatively, some bakers prefer to grease the tray lightly with butter or non-stick spray, though this method may not be as effective at preventing sticking as parchment paper.
While the term “cookie tray” often refers specifically to the flat surface used for baking, it can also be used to describe the final presentation of your cookies. Once baked, a cookie tray can be used to display your cookies in a decorative way, especially when hosting gatherings or holidays. The tray serves both a functional and aesthetic role, making it a crucial item in every baker’s kitchen.
In summary, a cookie tray is more than just a simple flat surface; it’s an indispensable tool that ensures your cookies bake perfectly, while also offering a convenient way to transport and present them. Whether you’re baking for a party or just enjoying a relaxing afternoon of cookies, having the right cookie tray makes all the difference in the final outcome.
Essential Ingredients for Your Cookie Tray
When making cookies, the ingredients you use make a big difference in the final outcome. Below are the key ingredients that are essential for making the best cookies for your tray:
1. Flour
Flour provides structure to the dough and gives your cookies their texture. All-purpose flour is most commonly used in cookie recipes, but some variations, such as cake flour, can yield a more delicate texture.
2. Butter
Butter is key to achieving a rich, delicious flavor and a chewy texture in your cookies. Using unsalted butter is usually recommended, as it allows you to control the salt content in the dough.
3. Sugar
The sugar in your cookie dough serves two main purposes: sweetening and aiding in browning. A combination of granulated sugar and brown sugar gives cookies the ideal balance of flavor and texture.
4. Eggs
Eggs provide moisture and help bind the ingredients together. They also aid in the leavening process, giving your cookies the right lift and texture.
5. Baking Powder and Baking Soda
Both are leavening agents that help your cookies rise and spread as they bake. Baking soda works best in recipes with acidic ingredients (like brown sugar or chocolate), while baking powder is used in recipes that don’t require an acidic ingredient.
6. Salt
A small amount of salt enhances the flavors in your cookies, balancing out the sweetness and adding depth to the taste.
7. Vanilla Extract
Vanilla extract adds a sweet and aromatic flavor that complements the other ingredients. Pure vanilla extract is always a good choice for the best flavor.
8. Add-ins (Chocolate Chips, Nuts, etc.)
Chocolate chips, raisins, walnuts, or M&Ms are common add-ins that can give your cookies extra flavor and texture. You can get creative here, but ensure that the add-ins don’t overwhelm the basic dough.
Preparing Your Cookie Tray
Once you have all your ingredients ready, it’s time to prepare your cookie tray. This step is crucial in ensuring even baking and that your cookies come out looking perfect.
Step 1: Preheat Your Oven
Before you start preparing your dough, always preheat your oven to the correct temperature, typically around 350°F (175°C). This ensures that your cookies begin to bake immediately once the tray is placed inside.
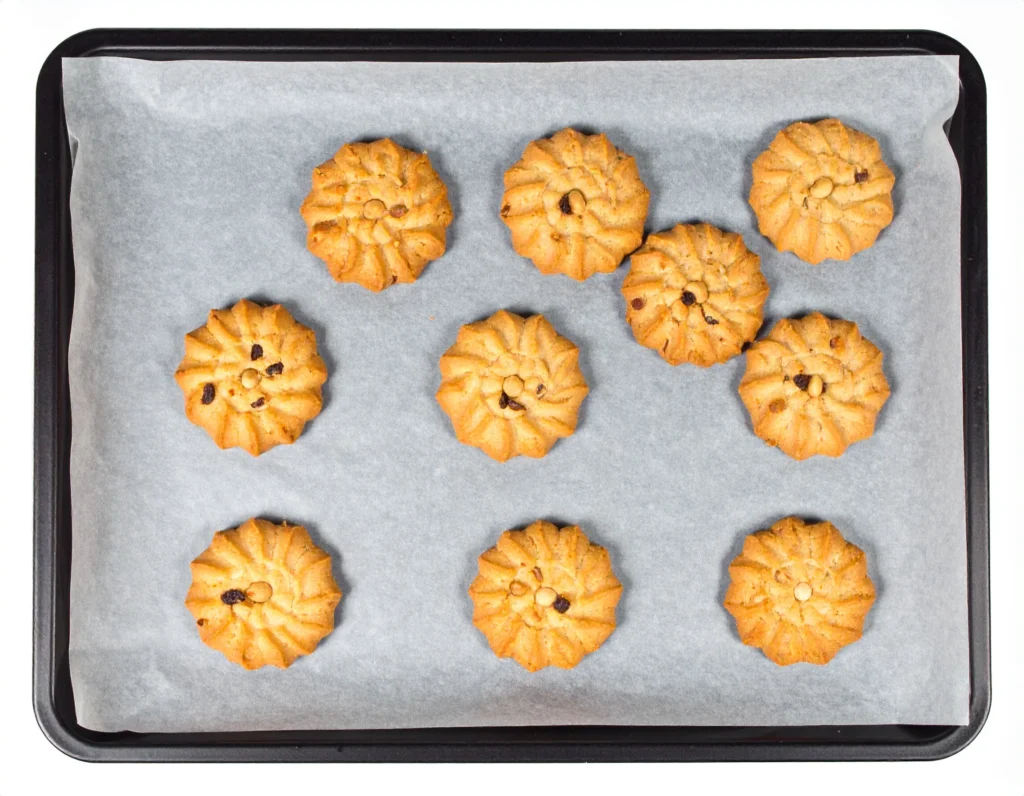
Step 2: Line Your Cookie Tray
Line your tray with parchment paper or a silicone baking mat to prevent the cookies from sticking and make cleanup easier. Alternatively, you can lightly grease the tray with butter or non-stick spray.
Step 3: Arrange the Cookie Dough
Scoop out small portions of cookie dough using a spoon or cookie scoop. Leave adequate space between each dough ball to allow the cookies to spread during baking. Usually, about 2 inches of space is ideal.
Baking Your Cookies
Once you’ve prepared your cookie dough and set it onto the tray, it’s time to move onto the most crucial part: baking your cookies. The baking process can make or break your cookie recipe, so it’s important to follow the steps carefully to achieve the best results.
1. Preheat Your Oven
Before you start placing the cookie tray into the oven, always remember to preheat your oven to the correct temperature. For most cookie recipes, this is typically 350°F (175°C), but some recipes may require a slightly higher or lower temperature. Preheating ensures that your oven is at the right temperature when you put the tray inside, allowing the cookies to start baking immediately and evenly. An oven that’s too hot or too cold will cause uneven baking, leading to either overcooked or undercooked cookies.
To check that your oven has fully preheated, allow a few extra minutes after the oven’s indicator light turns off. For consistent results, consider investing in an oven thermometer, as some ovens may not heat to the exact temperature they claim.
2. Position Your Cookie Tray in the Oven
Once your oven is preheated, it’s important to place your cookie tray in the correct position inside the oven. Ideally, your tray should be positioned in the center of the oven, as this allows for the most even heat distribution. If the tray is too close to the top or bottom of the oven, the cookies may cook unevenly, causing them to burn on the edges or undercook in the center.
If you’re baking multiple trays of cookies, rotate the trays halfway through baking. This helps ensure that all the cookies get the same amount of heat. Additionally, be sure to leave enough space between trays if you’re using more than one, so that heat can circulate freely around each tray.
3. Bake for the Correct Time
Baking time can vary depending on the size and thickness of your cookies. Most cookies bake for anywhere between 8 and 12 minutes at 350°F (175°C). To ensure perfect cookies, always refer to the specific recipe you’re following for an accurate baking time. Keep in mind that some cookies, like thicker ones or those with heavy add-ins, may require more time, while thinner cookies or those made with less dough may need less.
To determine whether your cookies are done, look for the following signs:
- The edges of the cookies should be golden brown.
- The centers should appear slightly soft but set. If the center is still wet, give it a few more minutes.
- The cookies will firm up as they cool, so it’s okay if they seem slightly soft when you first take them out of the oven.
4. Keep an Eye on the Color and Texture
The key to perfect cookies lies in careful observation of color and texture. For crispier cookies, allow them to bake a little longer until they’re golden and slightly darker at the edges. If you prefer softer cookies, take them out as soon as the edges begin to turn golden, even if the centers are still a little undercooked.
5. Cooling Your Cookies
Once your cookies are baked to perfection, the next step is to allow them to cool. Be careful not to leave them on the tray for too long as they can continue to bake and harden, possibly becoming overdone. Here’s how to properly cool your cookies:
- Cooling on the Tray: Allow your cookies to cool on the baking tray for about 5 minutes after removing them from the oven. This gives the cookies time to set and prevents them from falling apart when you transfer them to a cooling rack.
- Transfer to a Cooling Rack: After the initial cooling time on the tray, use a spatula to transfer the cookies onto a cooling rack. This allows air to circulate around the cookies, preventing them from becoming soggy on the bottom and helping them firm up.
- Don’t Overcrowd the Cooling Rack: If you’re cooling many cookies, spread them out on the rack to ensure each cookie cools properly. Overcrowding can cause moisture to accumulate, affecting the texture.
6. Check for Doneness
To double-check your cookies, gently press the center of a cookie with your finger after it’s cooled. It should bounce back slightly and not leave an indentation. If it leaves a mark, your cookies need more time to cool and set. Don’t worry if the cookies feel soft at first they will firm up as they cool on the rack.
Baking cookies is an art, and following these tips will ensure that each batch turns out perfect. By paying attention to baking times, tray positioning, and cooling methods, you can master the process and bake cookies that are consistently delicious, whether they’re crisp, chewy, or somewhere in between.
Decorating Your Cookie Tray
Decorating your cookie tray is a fun way to make your baked goods look even more appetizing. Here are a few ideas to help you elevate your cookie presentation:
1. Sprinkles
Top your cookies with colorful sprinkles or sugar for a festive touch. This is especially great for holiday cookies.
2. Icing
Drizzle or pipe royal icing onto your cookies for added flavor and decoration. You can even use different colors to create fun patterns.
3. Chocolate Drizzle
For a more indulgent look, drizzle melted chocolate over your cookies. You can choose milk, dark, or white chocolate depending on your preference.
4. Fresh Fruit
If you’ve made fruit-based cookies, consider adding fresh fruit or berries to the tray for extra color and a burst of freshness.
Best Practices for Storing Cookies
After baking and decorating your cookies, you want to store them properly to maintain their freshness. Here are a few tips for keeping your cookies in perfect condition:
1. Use Airtight Containers
Store cookies in an airtight container to prevent them from drying out. Layer the cookies with parchment paper to prevent them from sticking together.
2. Freezing Cookies
You can freeze both baked cookies and unbaked dough. For unbaked dough, scoop the dough onto a tray, freeze the balls, and then store them in a bag or container.
3. Room Temperature
Store your cookies at room temperature if you plan to eat them within a few days. For longer storage, freezing is your best option.
Common Cookie Tray Mistakes and How to Avoid Them
Even experienced bakers can make mistakes when preparing a cookie tray. Below are some common errors and tips on how to avoid them:
1. Overcrowding the Tray
If you place the dough balls too close together, the cookies will merge into one large sheet while baking. Always leave space for the cookies to spread.
2. Incorrect Oven Temperature
An oven that’s too hot or too cool can lead to unevenly baked cookies. Use an oven thermometer to check the temperature for accuracy.
3. Not Using Parchment Paper
Parchment paper prevents sticking and promotes even baking. Without it, your cookies might burn on the bottom or stick to the tray.
Conclusion
The best cookie tray recipe guide for beginners has covered everything from choosing the right ingredients to baking, decorating, and storing your cookies. With these tips, you’ll be well on your way to baking the perfect batch of cookies, whether it’s for a special event or just a treat to enjoy with friends and family. Happy baking!
For more recipes please click on below links:
Easy Sub in a Tub Recipe: A Perfect Sandwich-Inspired Bowl
Best Flank Steak Alternatives for Juicy and Tender Results
Easy Sloppy Joe Recipe with 3 Ingredients: Quick and Delicious
What do you put on a cookie tray?
A cookie tray typically contains a layer of parchment paper or a silicone mat to prevent cookies from sticking. You can also line it with aluminum foil.
What are the 7 basic ingredients in all cookies?
The seven basic ingredients are flour, butter, sugar, eggs, baking powder or baking soda, salt, and vanilla extract.
How do you make a baking tray for cookies?
To make a baking tray for cookies, line it with parchment paper or silicone mats. Ensure the tray is large enough to space out the cookie dough balls.
What are cookie trays made of?
Cookie trays are typically made of aluminum, stainless steel, or non-stick materials. Some are specially designed with raised edges to allow for even heat distribution.

