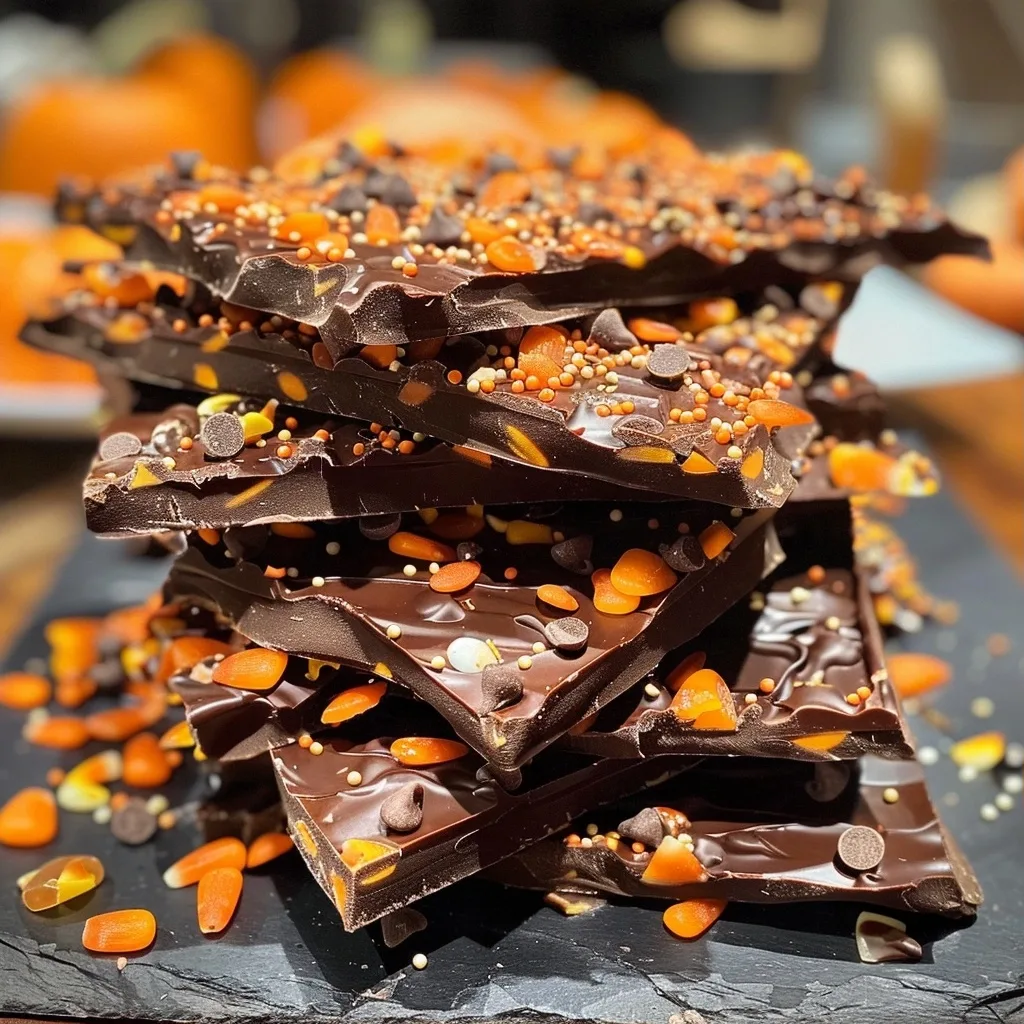
Halloween Chocolate Bark is an effortless, visually striking dessert featuring tempered chocolate layers topped with festive candy decorations. This classic treat allows for endless creative customization using dark, milk, or white chocolate bases. Preparing this dessert requires minimal culinary skill, making it the perfect choice for busy hosts or family activities. These thin, snap-worthy chocolate sheets bring immediate holiday spirit to any party table or candy bowl.
Recipe Overview
| Metric | Details |
|---|---|
| Prep Time | 15 minutes |
| Cook Time | 5 minutes |
| Total Time | 1 hour 20 minutes |
| Servings | 12 servings |
| Difficulty | Easy |
| Cuisine | American |
Why This Recipe Works
This recipe succeeds because it relies on high-quality chocolate and contrasting textures to deliver a professional result. I have found that balancing the bitterness of dark chocolate with the sweetness of candy corn creates a sophisticated profile. The snap of the bark provides a satisfying crunch that elevates simple melted chocolate into a gourmet experience.
You will appreciate the versatility of this method, which works for both amateur bakers and seasoned professionals. By using basic tools found in any kitchen, you achieve a polished presentation that looks like it came from a high-end chocolatier. This recipe remains a staple in my kitchen because it satisfies cravings while allowing for seasonal aesthetic updates.
Ingredients
| Ingredient | Quantity | Notes |
|---|---|---|
| Dark Chocolate | 16 oz | Use high-quality couverture chocolate |
| Candy Corn | 1/2 cup | Substitute with dried apricots for tartness |
| Candy Eyes | 1/4 cup | Available in baking aisles |
| Orange Sprinkles | 2 tbsp | Use jimmies or sugar crystals |
| Sea Salt | 1/4 tsp | Optional for balancing sweetness |
Step-by-Step Instructions
Preparation
- Line a large rimmed baking sheet with high-quality parchment paper to ensure easy removal of the set bark.
- Chop the chocolate into uniform, small pieces to guarantee an even melt without burning the cocoa solids.
Melting and Spreading
- Melt the chocolate in a heat-proof glass bowl placed over a pot of simmering water.
- Stir constantly with a silicone spatula until the mixture reaches a smooth, glossy, and pourable consistency.
- Pour the melted chocolate onto the center of the prepared baking sheet and spread it outward.
- Use an offset spatula to smooth the chocolate into an even layer approximately 1/4 inch thick.
Decorating and Setting
- Scatter the candy corn, candy eyes, and orange sprinkles evenly across the wet chocolate surface.
- Press the toppings gently into the chocolate to ensure they adhere properly as the mixture cools.
- Place the tray in the refrigerator for at least one hour to allow the bark to firm completely.
- Break the cooled bark into irregular shards using clean hands or a sharp knife before serving.
Chef Tips for Perfect Results
- Avoid water contamination at all costs, as even a tiny drop causes chocolate to seize into a grainy mess.
- Work quickly after melting because the chocolate begins to set as soon as it touches the cool metal tray.
- Use a double boiler setup to prevent the chocolate from overheating, which maintains the ideal snap and sheen.
- Ensure all candy toppings are room temperature before adding them to prevent the chocolate from cooling too fast.
- Add a pinch of flakey sea salt to the surface to cut through the heavy sugar content of Halloween candies.
Common Mistakes to Avoid
Overheating the chocolate is a primary mistake that leads to a dull finish and a gritty, uneven texture. Always use low heat and remove from the stove while some solid chunks remain. You can fix this by adding a small amount of new, unmelted chocolate and stirring gently.
Another error involves using poor-quality baking chips, which often contain stabilizers that prevent smooth melting. Stick to high-cocoa content bars or professional baking wafers for the best results. Finally, ignoring the setting time will lead to smudged decorations, so patience is necessary for a clean look.
Variations and Substitutions
| Ingredient | Substitution | Impact on Flavor |
|---|---|---|
| Dark Chocolate | White Chocolate | Sweeter, creamier profile |
| Candy Corn | Pumpkin Seeds | Adds nutty, savory notes |
| Sprinkles | Crushed Pretzels | Provides salty, savory crunch |
Serving Suggestions and Pairings
Serve these shards on a dark platter to emphasize the festive orange and white colors. This bark pairs exceptionally well with warm, unsweetened beverages like black coffee or roasted chicory tea. Offer them at Halloween neighborhood gatherings or as party favors packaged in clear cellophane bags with orange ribbon.
Storage and Reheating
| Method | Duration | Instructions |
|---|---|---|
| Cool Pantry | 2 weeks | Store in airtight container away from heat |
| Refrigerator | 1 month | Place in sealed bag to prevent moisture |
Nutritional Information
Approximate values per serving.
| Nutrient | Amount |
|---|---|
| Calories | 210 |
| Fat | 12g |
| Sugar | 22g |
| Protein | 2g |
Frequently Asked Questions
Can I substitute white chocolate in this recipe?
Yes, you can substitute white chocolate for dark chocolate to create a lighter, sweeter aesthetic. Keep in mind that white chocolate melts at a lower temperature and burns more easily than dark varieties.
How do I know when the chocolate is fully set?
The chocolate is fully set when it is firm to the touch and releases easily from the parchment paper. If you notice any soft spots, return it to the refrigerator for another ten minutes.
What should I do if my chocolate seizes during melting?
If the chocolate seizes, you can occasionally recover it by stirring in a teaspoon of neutral vegetable oil. This adds moisture back into the mixture, though it may slightly alter the final texture.
Can I make this bark two days before my party?
You can successfully make this bark up to one week in advance if you store it correctly. Keep the shards in an airtight container in a cool, dry area to maintain the integrity of the decorations.
What is the best way to cut the bark evenly?
Use a sharp, warm knife to score the surface of the bark before it is completely cold to achieve cleaner lines. Otherwise, simply use your hands to snap the bark into organic, jagged pieces.
Conclusion
Halloween Chocolate Bark provides the ultimate combination of visual fun and delicious flavor for any autumn gathering. By following these simple steps, you guarantee a professional finish that will impress guests of all ages. Experiment with various toppings to create your unique signature blend every single year. Embrace the process, enjoy the vibrant colors, and relish the decadent snap of your homemade Halloween creation.