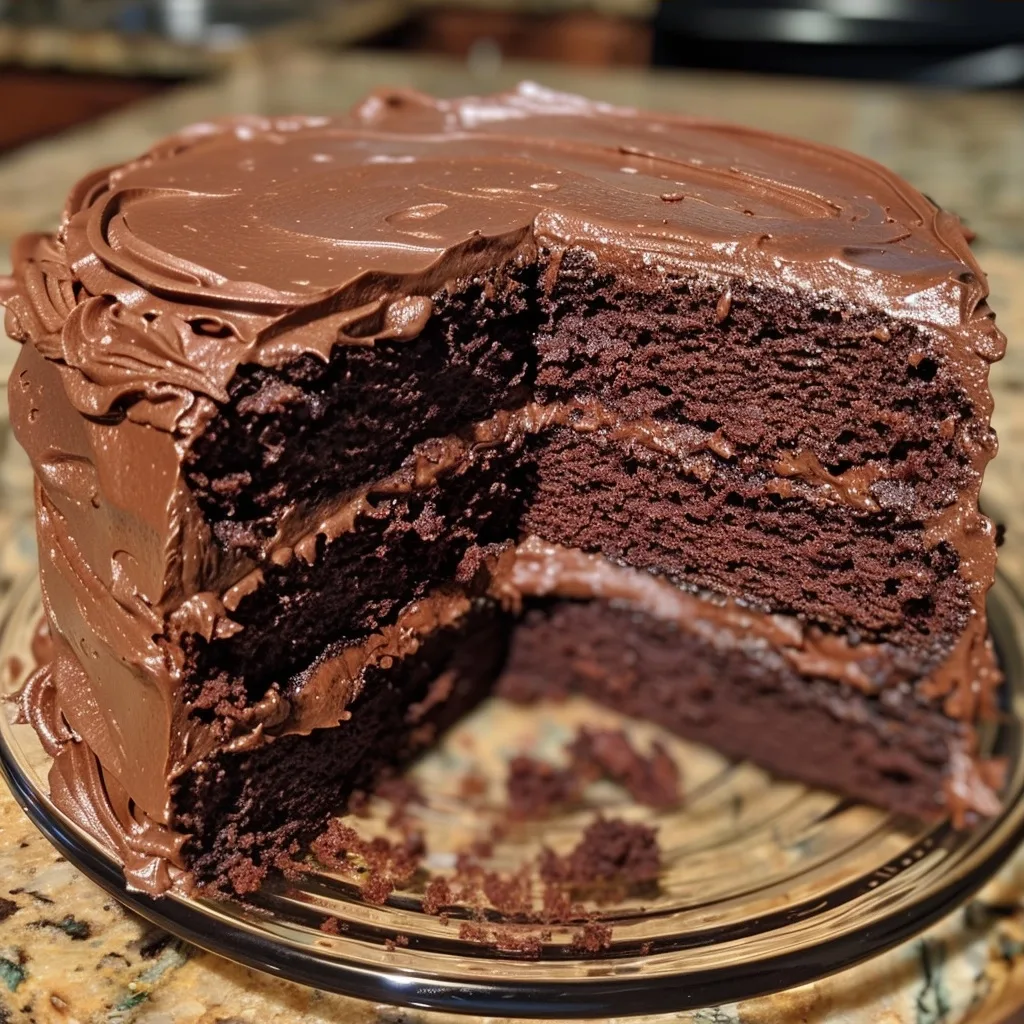
Coo cake recipe for moist chocolate delight provides a reliable method to bake the ultimate dessert with a tender crumb. This classic sponge cake relies on high-quality cocoa powder and precise technique to achieve its signature rich texture and deep flavor profile. Home bakers achieve professional results by following these simple steps for a decadent, fail-proof chocolate experience.
Recipe Overview
| Prep Time | 20 minutes |
|---|---|
| Cook Time | 35 minutes |
| Total Time | 55 minutes |
| Servings | 12 servings |
| Difficulty | Easy |
| Cuisine | Modern American |
Why This Recipe Works
This recipe works because the chemistry of the ingredients creates a tight yet airy crumb structure that holds moisture better than standard cakes. I spent months adjusting fat ratios to ensure the cake remains soft for days after baking instead of drying out on the counter.
By incorporating boiling water at the final stage of mixing, the cocoa powder blooms properly to unleash intense chocolate notes. You will find this method produces a dark, intense profile that pairs perfectly with simple ganache or fresh berries.
Ingredients
| Ingredient | Quantity | Notes |
|---|---|---|
| All-purpose Flour | 2 cups | Measure using the scoop-and-level method |
| Granulated Sugar | 2 cups | Provides structural sweetness |
| Unsweetened Cocoa Powder | 3/4 cup | Use Dutch-processed for darker color |
| Baking Powder | 2 tsp | Ensure it is fresh for proper rise |
| Baking Soda | 1.5 tsp | Reacts with cocoa for tenderness |
| Salt | 1 tsp | Enhances chocolate depth |
| Eggs | 2 large | Room temperature preferred |
| Whole Milk | 1 cup | Full fat is non-negotiable |
| Vegetable Oil | 1/2 cup | Keeps the cake moist longer than butter |
| Boiling Water | 1 cup | Blooms the cocoa particles |
Step-by-Step Instructions
Preparation Phase
- Preheat the oven to 350 degrees Fahrenheit.
- Grease two 9-inch round cake pans with butter or non-stick spray.
- Dust the pans with a small amount of flour to prevent sticking.
Mixing Phase
- Combine the dry ingredients in a large mixing bowl.
- Whisk the flour, sugar, cocoa, baking powder, baking soda, and salt until uniform.
- Add the eggs, milk, and vegetable oil to the dry mixture.
- Beat the batter on medium speed for two minutes until smooth.
- Stir in the boiling water by hand until fully incorporated.
Baking Phase
- Pour the batter evenly into the prepared pans.
- Bake for 30 to 35 minutes or until a toothpick tests clean.
- Cool the cakes in the pans for 10 minutes before transferring to a wire rack.
Chef Tips for Perfect Results
- Use room temperature eggs and milk to ensure the batter emulsifies correctly without curdling.
- Sift your cocoa powder before adding to avoid stubborn dry lumps in the final crumb.
- Monitor the oven temperature with an external thermometer for total control over the bake time.
- Tap your cake pans on the counter once before baking to remove large air bubbles trapped in the batter.
- Wait until the cake is completely cool before applying any frosting to avoid melting.
Common Mistakes to Avoid
- Overmixing the batter destroys the crumb, making the cake tough rather than soft. Always stop mixing as soon as the streak of flour disappears.
- Opening the oven door too early causes the cake center to collapse due to heat loss. Keep the door closed until the minimum bake time passes.
- Measuring flour incorrectly leads to dry, dense cakes. Always spoon the flour into the cup and level it off with a knife.
- Using cold water instead of boiling water prevents the cocoa from fully blooming. Always use fresh boiling water for maximum richness.
Variations and Substitutions
| Ingredient | Substitution | Impact on Flavor |
|---|---|---|
| Whole Milk | Buttermilk | Adds tang and aids in lifting |
| Vegetable Oil | Melted Coconut Oil | Adds a subtle tropical hint |
| Vanilla Extract | Espresso Powder | Deepens the chocolate contrast significantly |
Serving Suggestions and Pairings
Serve this cake at birthday parties, anniversary dinners, or holiday gatherings where a reliable centerpiece is needed. Pairs best with a tart raspberry reduction or a generous dollop of unsweetened whipped cream to balance the intensity. For a quick serving option, dust the top with powdered sugar and serve alongside sliced strawberries.
Storage and Reheating
| Method | Duration | Instructions |
|---|---|---|
| Room Temp | 3 days | Keep in an airtight container |
| Fridge | 7 days | Wrap tightly in plastic film |
| Freezer | 3 months | Double wrap in foil and plastic |
Nutritional Information
Approximate values per serving (1 slice):
| Nutrient | Amount |
|---|---|
| Calories | 310 kcal |
| Fat | 12g |
| Carbohydrates | 48g |
| Protein | 4g |
Frequently Asked Questions
Can I replace vegetable oil with melted butter?
Yes, you can substitute melted butter for vegetable oil to achieve a richer, dairy-forward flavor profile. Note that butter contains water and milk solids, which may slightly change the final texture compared to the neutral oil version.
How do I know when the coo cake is perfectly done?
The cake is ready when a wooden toothpick inserted into the center emerges clean or with only a few moist crumbs attached. Avoid waiting for a completely dry toothpick to prevent overbaking the delicate sponge.
Why is my chocolate cake crumbly?
Crumbliness typically results from using too much flour or over-baking the batter past the recommended time. Use a kitchen scale to measure ingredients for the most consistent results in your home kitchen.
Can I make this cake one day in advance?
You should bake and store the cake fully wrapped at room temperature to maintain peak freshness for your event. Building the cake layers and frosting them the day of serving ensures the best structural integrity.
What is the best way to frost this cake?
A classic chocolate buttercream or a whipped ganache provides the best surface coverage for this moist sponge. Ensure the cake is completely at room temperature or colder before application to prevent frosting slide.
Conclusion
Mastering this coo cake recipe for moist chocolate delight ensures you have a reliable, decadent dessert for any occasion. By focusing on ingredient quality and proper mixing techniques, you achieve a professional finish that satisfies every chocolate lover. Follow these instructions carefully to create a memorable treat that tastes better than any store-bought alternative. Enjoy your baking journey as you serve this rich, tender, and perfectly balanced chocolate creation to friends and family.