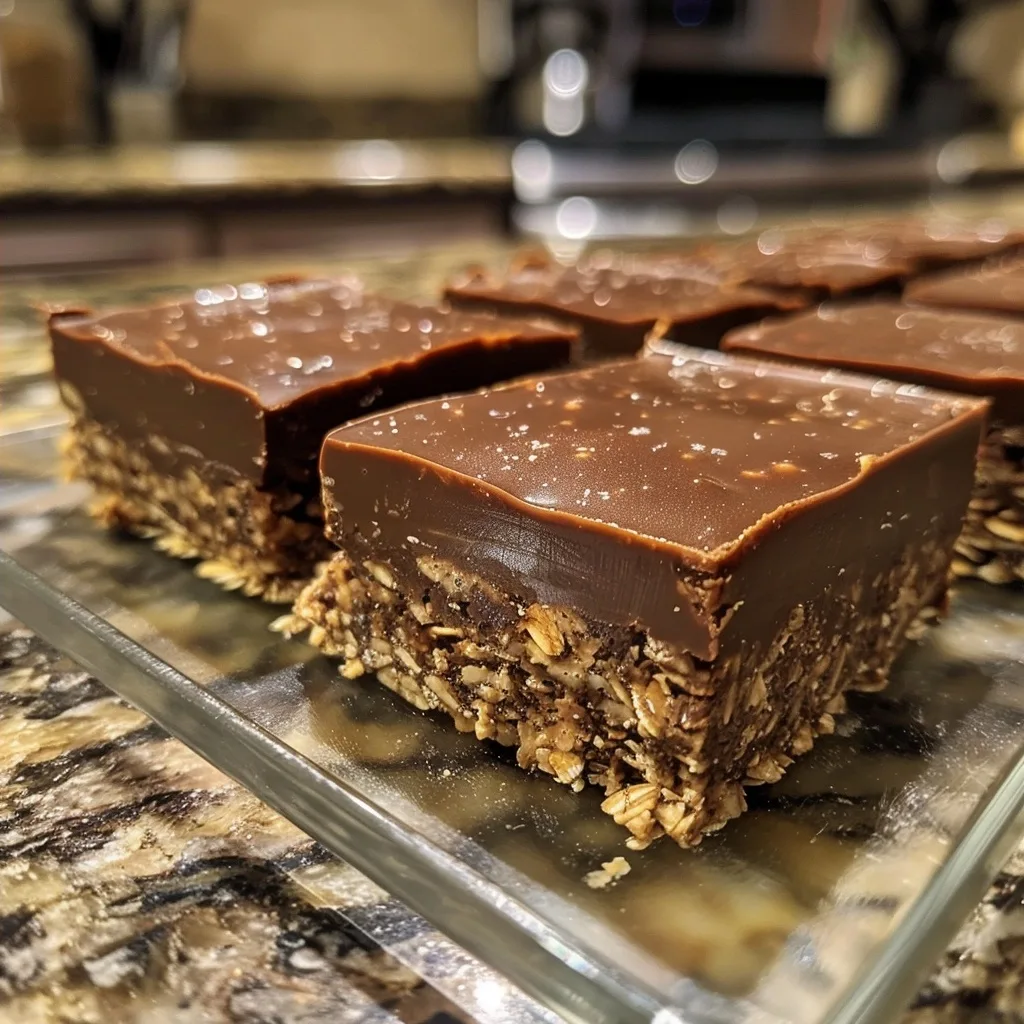
No bake chocolate oatmeal bars are convenient, energy-dense treats made by combining rolled oats, cocoa powder, nut butter, and sweetener into a firm, sliceable snack. These bars provide a satisfying balance of fiber and healthy fats without requiring any oven time or complex equipment. You can prepare these nutritious snacks in minutes to satisfy sweet cravings while fueling your daily activities efficiently and cleanly.
| Category | Details |
|---|---|
| Prep Time | 10 minutes |
| Cook Time | 5 minutes |
| Total Time | 1 hour (including chilling) |
| Servings | 12 bars |
| Difficulty | Easy |
| Cuisine | American |
Why This Recipe Works
I rely on this recipe during busy work weeks because it removes the heat and hassle of traditional baking. By skipping the oven, the oats maintain a pleasant, chewy texture that contrasts perfectly with the smooth, rich chocolate glaze. It offers a consistent, wholesome snacking experience that holds up well in a packed lunch or gym bag.
These bars rely on simple, pantry-stable staples that are both affordable and accessible. The chemistry of the nut butter acts as a natural binder, ensuring the bars stay together without needing eggs or flour. This approach creates a clean label treat that avoids excessive processing while delivering deep, satisfying cocoa flavor every single time.
Ingredients
| Ingredient | Quantity | Notes |
|---|---|---|
| Rolled Oats | 3 cups | Use certified gluten-free if necessary |
| Creamy Peanut Butter | 1 cup | Ensure it is natural, no-stir style |
| Honey or Maple Syrup | 1/2 cup | Maple syrup keeps the recipe vegan |
| Unsweetened Cocoa Powder | 1/2 cup | Dutch-processed provides richer color |
| Coconut Oil | 1/4 cup | Melted for a smoother texture |
| Vanilla Extract | 1 teaspoon | Pure extract adds the best depth |
| Sea Salt | 1/4 teaspoon | Balances the sweetness effectively |
Step-by-Step Instructions
Preparation and Mixing
- Line an 8×8 inch square baking dish with parchment paper to prevent sticking.
- Combine the peanut butter, honey, coconut oil, and cocoa powder in a medium saucepan.
- Heat the mixture over low heat until the ingredients are fully melted and combined.
- Remove the saucepan from the heat source once the mixture is smooth and glossy.
- Stir in the vanilla extract and sea salt until the mixture is uniform.
Assembly and Chilling
- Add the rolled oats into the saucepan and fold them into the chocolate mixture.
- Ensure every oat flake is coated evenly with the rich cocoa base.
- Transfer the mixture into the prepared baking dish using a silicone spatula.
- Press the mixture firmly into the corners to ensure an even thickness for slicing.
- Refrigerate the pan for at least 45 minutes until the bars are firm.
Chef Tips for Perfect Results
- Toast your oats in a dry pan for three minutes before mixing to enhance their nutty aroma.
- Press the mixture down with the back of a measuring cup to achieve a dense, professional finish.
- Use room temperature nut butter to ensure it emulsifies easily with the melted coconut oil.
- Add a pinch of flaky sea salt on top of the bars immediately after pressing them into the pan.
- Allow the bars to sit at room temperature for five minutes before slicing to avoid crumbling.
Common Mistakes to Avoid
Overcooking the mixture often causes the fats to separate, leading to a greasy final texture. Keep the heat strictly on low and remove the pan the moment everything combines. If the bars seem too loose, you may have used too much liquid or not enough oats. Add an extra quarter cup of oats and re-chill the tray to fix the consistency.
Variations and Substitutions
| Ingredient | Substitution | Impact |
|---|---|---|
| Peanut Butter | Almond Butter | More subtle flavor and higher cost |
| Maple Syrup | Agave Nectar | Neutral sweetness with slightly thinner consistency |
| Coconut Oil | Unsalted Butter | Richer flavor but melts faster at room temperature |
Serving Suggestions and Pairings
Serve these bars alongside a glass of chilled almond milk or a hot cup of black coffee for a balanced afternoon break. They work perfectly as an post-workout snack or a refined treat for office gatherings. Pair them with fresh berries to add a refreshing, acidic contrast to the intense chocolate notes.
Storage and Reheating
| Method | Duration | Instructions |
|---|---|---|
| Refrigerator | 1 week | Store in an airtight glass container |
| Freezer | 3 months | Wrap individually in parchment for grab-and-go |
Nutritional Information (Approximate values)
| Nutrient | Amount per Serving |
|---|---|
| Calories | 210 kcal |
| Protein | 6g |
| Fat | 12g |
| Carbohydrates | 22g |
| Fiber | 3g |
Frequently Asked Questions
Can I use quick oats instead of rolled oats?
Quick oats create a much denser and softer bar compared to the chewy texture of rolled oats. Use rolled oats for the best mouthfeel, but substitute with quick oats if you prefer a softer, fudgy consistency.
How do I know when the bars are set?
The bars are set when the surface is no longer tacky to the touch and the edges feel firm. Test by gently pressing the center of the bar to ensure there is no visible movement or softness.
Why are my bars falling apart?
Your bars fall apart if the ratio of dry to wet ingredients is off or the mixture was not pressed firmly enough. Add more oats to the mixture and chill for an additional thirty minutes to improve the structural integrity.
Can I make these bars ahead of time?
These bars excel as a make-ahead snack and actually improve in texture after sitting in the refrigerator overnight. Prepare them up to three days before an event to save time during your busy schedule.
How should I store them to keep them fresh?
Keep these bars in an airtight container within the refrigerator to prevent the coconut oil from softening. They stay fresh for up to one week when properly sealed away from strong odors.
Mastering no bake chocolate oatmeal bars provides a reliable, healthy solution for your snack needs throughout the week. By utilizing quality ingredients and following the chilling process, you ensure a delicious outcome that everyone will enjoy. Embrace this simple technique to enjoy wholesome, chocolate-filled energy whenever you need a quick boost. Experiment with different nut butters to personalize the flavor profile and enjoy the consistent, chewy satisfaction of these homemade snacks.